

Microscopy workstation with Canon EOS 350D
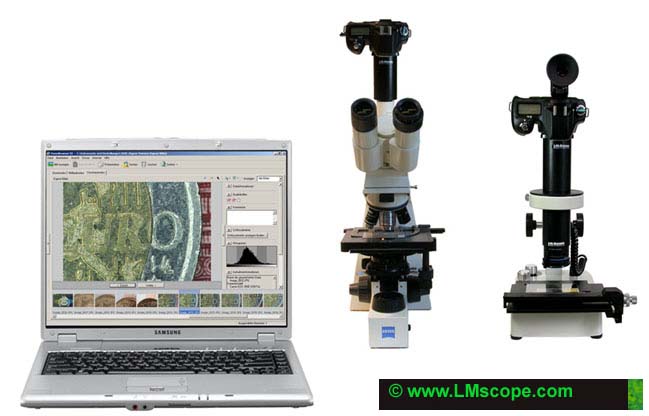
If you want to capture images with highest image quality connect your microscope system or macroscope system with a USB cable to your computer. The images will be displayed on the high-resolution computer screen with the full resolution of a digital reflex camera immediately after pressing the shutter release. By doing so you can capture high-quality microscope images and macroscope images in just some seconds. If your image does not fulfil your requirements, e.g., due to wrong illumination, focus level or image frame, just press the shutter release again. Since you will be able to immediately review the image quality you can save a lot of time you would otherwise spent on retaking entire image sequences. With the usual technique the image data is stored on the storage medium of your digital camera, such as, e.g., CF, MMC Card etc. Usually it is difficult to judge the image quality on the small built-in screen. Using an external video monitor does not solve this problem either. By sticking to the NTSC or PAL video standard camera manufacturers are forced to reduce the image quality considerably. Conversion of the original digital image information to an analogous video signal also leads to a considerable reduction in image quality. Due to simultaneous image transfer via the USB interface the image data is no longer stored on the memory card, i.e. that the memory card does not even need to be removed at all. Accordingly, the number of pictures you can store only depends on the size of your computer hard disk.
The Canon EOS 350D comes with all necessary devices:
- USB cable
- ZoomBrowserEX
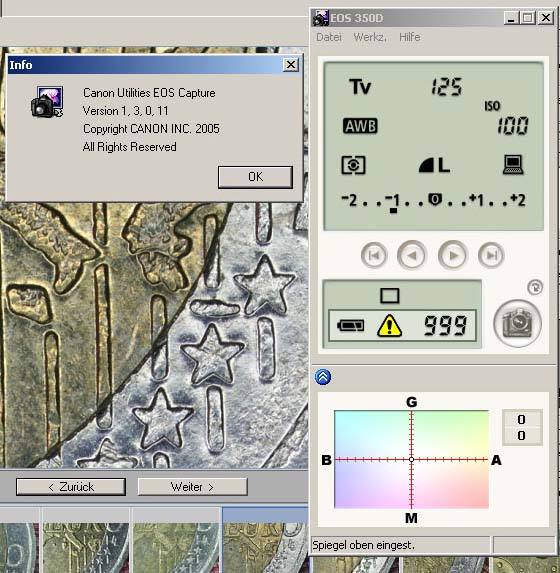
- Canon Utilities EOS Capture (Tethered Shooting)
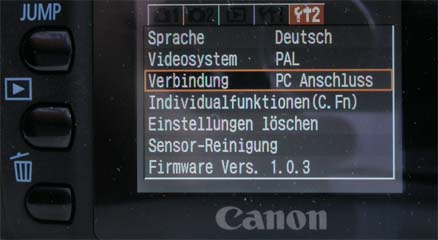
If you want to connect your digital camera to your computer set the connection on “Connect to PC” in the Setup menu.
The ZoomBrowserEX included in the delivery is a practical image viewer and complements the EOS 350 by adding a lot of functions. First connect your digital camera to the USB cable and to the computer. If the camera is switched on a pop-up window with the following message will be displayed:
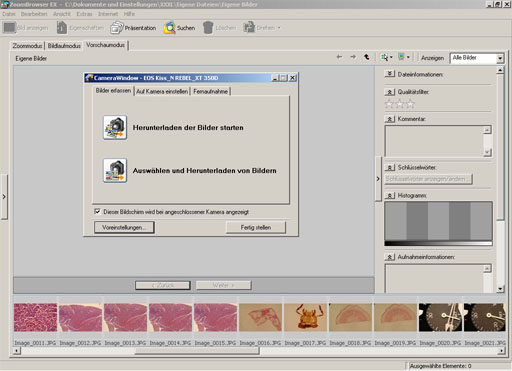
Choose the long-distance shot window and click on “Remote Shooting function”.
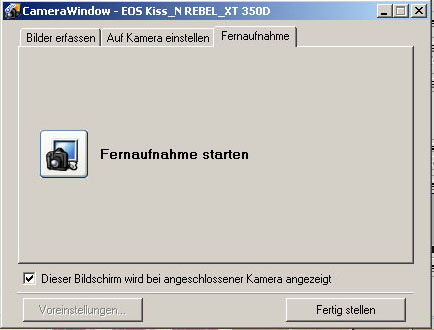
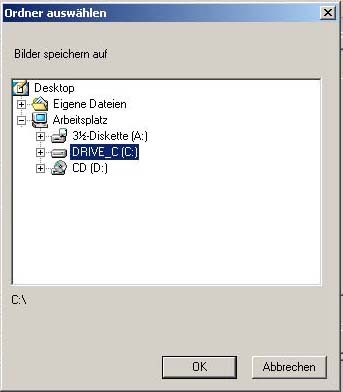
Now select the folder where you wish to store the images.
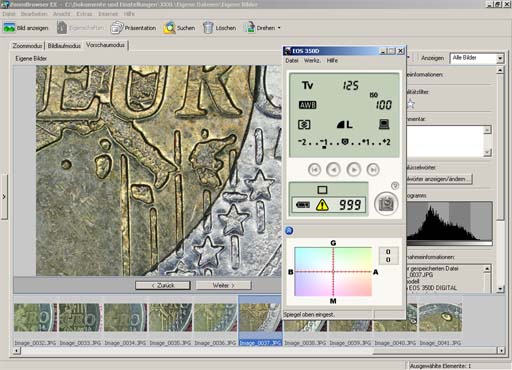
Now the capture window is displayed. After pressing the shutter release the picture is displayed in the ZoomBrowserEX.
To avoid fuzziness we recommend to use the remote-control release.
Software version tested by us:
Also watch testing reports: Canon EOS 5D Mark II, Canon EOS 600D
New LM Digital Adapter for: Canon EOS R3 / Canon EOS R6 Mark II / Canon EOS R8 / Canon EOS R5 II / Canon EOS R5 / Canon EOS R6 / Canon EOS R / Canon EOS Ra (Astro) / Canon EOS RP / Canon EOS R7 / Canon EOS R10 / Canon EOS 1D X Mark III / Canon EOS 1D X Mark II / Canon EOS R100 / Canon EOS 1D X / Canon EOS 90D / Canon EOS 5D Mark IV / Canon EOS 6D Mark II / Canon EOS M6 Mark II / Canon EOS 250D / Canon EOS 850D / Rebel T8i / Canon EOS 6D / Canon EOS M200 / Canon EOS 5DS R ( without low-pass filter) / Canon EOS 80D / Canon EOS M50 Mark II / Canon EOS 5DS / Canon EOS M50 / Canon EOS 70D / Canon EOS 200D / Canon EOS 800D / Rebel T7i / Canon EOS 77D / Canon EOS 5D Mark III / Canon EOS 60D / Canon EOS 750D / Rebel T6i / Canon EOS 760D / Rebel T6s / Canon EOS 5D Mark II / Canon EOS 1D Mark IV / Canon EOS 7D Mark II / Canon EOS 600D / Rebel T3i / Canon EOS 650D / Rebel T4i /