 +43-664-7926425
 9
9
Die von Ihnen aufgerufene Seite konnte leider nicht gefunden werden. Entweder war die Seite nicht mehr aktuell und wurde von uns entfernt, oder sie ging tatsächlich verloren oder aber sie existierte überhaupt nicht! Bitte klicken Sie auf die gewünschte Produktgruppe, um wieder auf unsere Homepage zu gelangen!
Wir führen folgende Produktgruppen:
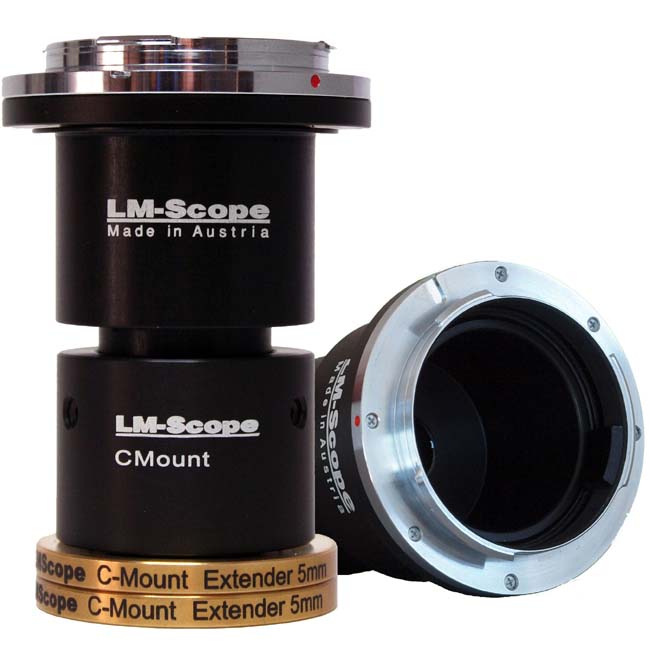 LM Digital Adapter: Verbindung Digitalkameras und Mikroskopen
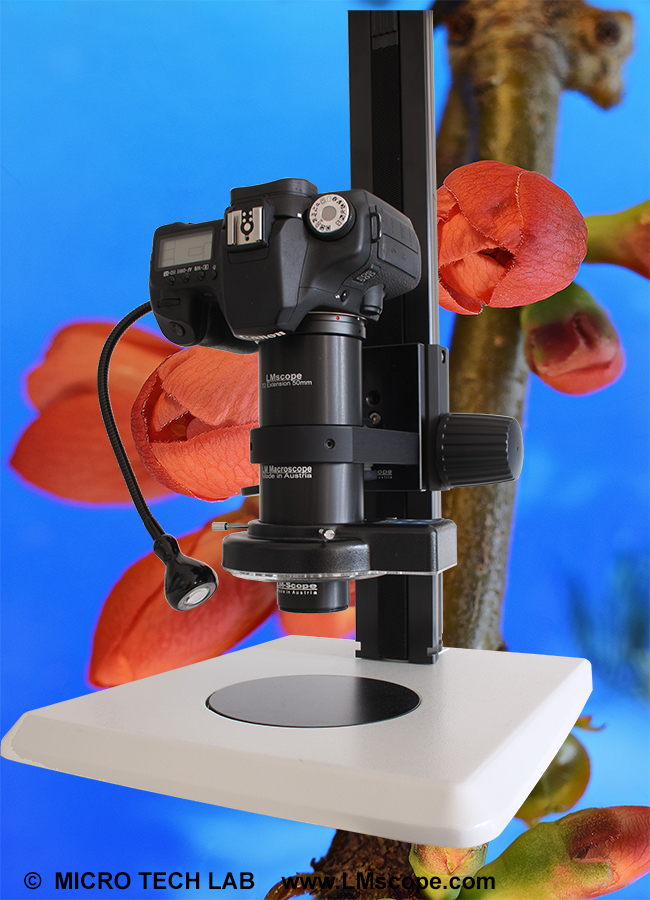 LM Makroskope und LM Foto-Mikroskope
 Spezial Eindeckmittel für die Mikroskopie