

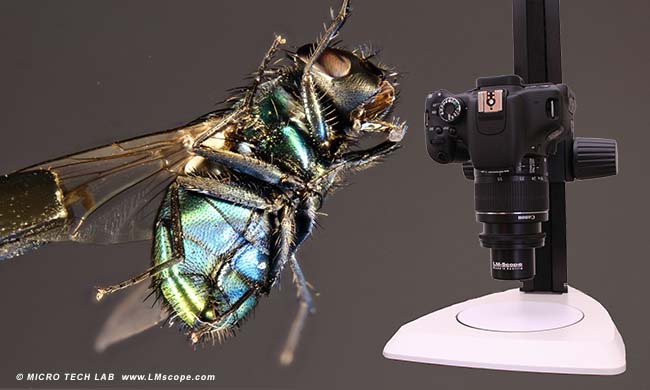
LMScope close-up lenses (LM macro 40 mm/80 mm) and LMScope macro stand in the laboratory!
Using a normal digital SLR camera, simple kit lenses, LMScope close-up lenses and a suitable macro stand, it is possible to effortlessly assemble a photo unit which delivers high-quality microscope images. Magnifications corresponding to a microscope magnification of up to 20x are possible. The optical system itself is even better than with normal stereo microscopes, as this photo system has a central optical path. With conventional stereo microscopes (Greenough principle and Galileo principle), losses in quality must be expected due to the offset edge and/or optical path.
The two LM macro lenses (40 and 80) are a superb add-on for lenses ranging from 50 to 90 mm. Due to its small size and low weight, the LM macro 80, in particular, is optimally suited for working outdoors. A reasonably priced zoom kit lens with a focal length of around 50 mm opens up the possibility of exploring macrophotography. Either lenses with a fixed focal length or zoom lenses can be used. Zoom lenses have the advantage of changing the magnification by zooming, with only slight trade-offs in terms of optical quality. In our workshop we used a very simple, modestly priced zoom lens (Canon EF 18-55 mm), which comes as standard with most Canon EOS cameras that have an APS-C sensor. It goes without saying that the entry-level lenses of other manufacturers are equally suitable. Serendipitously, but nonetheless true, for our specific purposes, the cheaper lenses are the better option. Special macro lenses generally do not produce any advantage. It is important that the filter thread of the lens is smaller than 62 mm; and a focal length of between 25 mm and 100 mm has proven to work best.
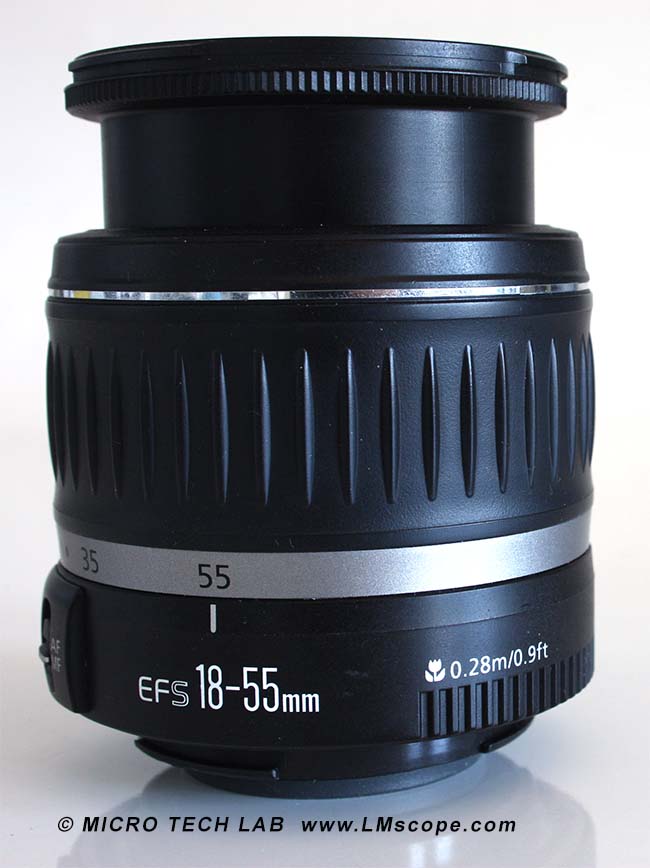
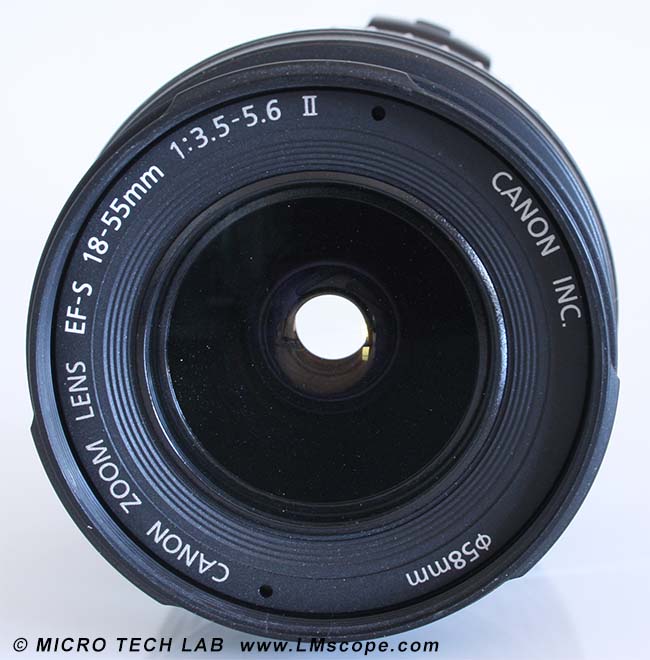
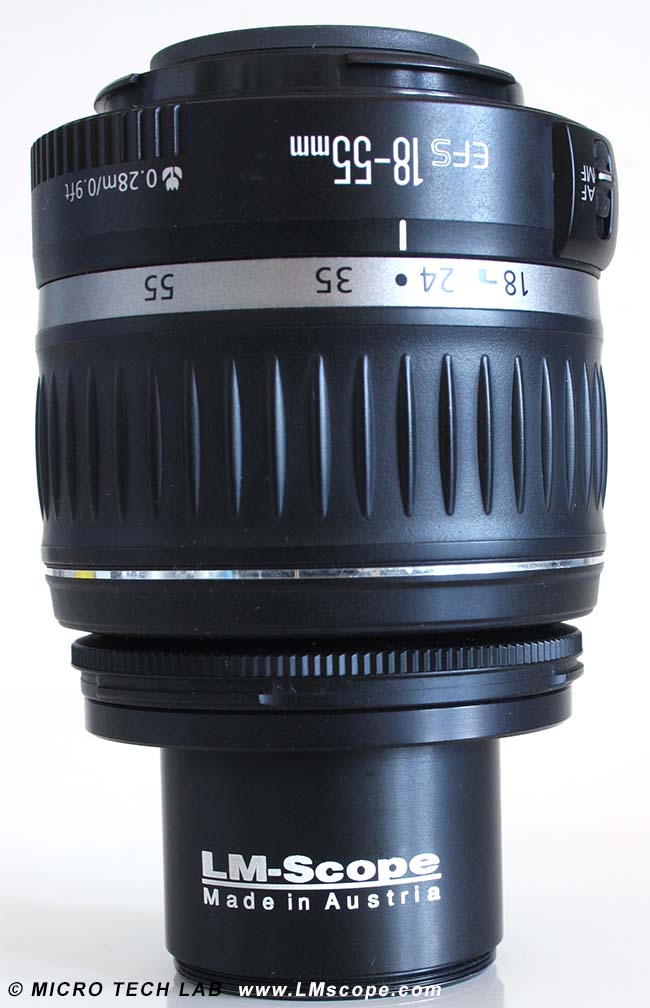
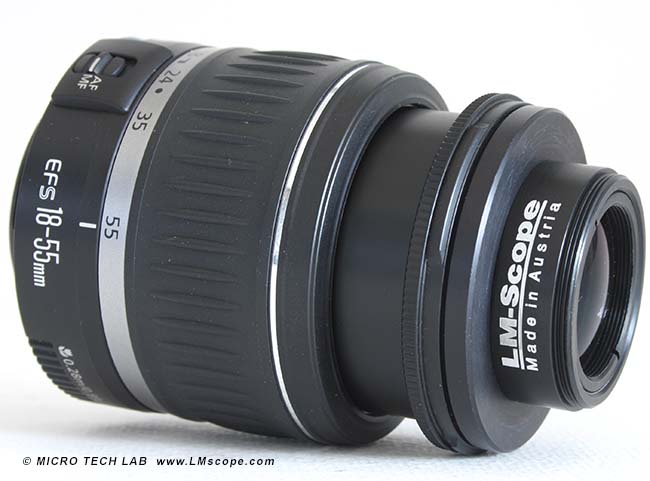
The LMScope 40 mm or 80 mm close-up lens is attached to the support lens, in our case the Canon EFS 18-55 mm. It is also possible to combine two LM macro 80 mm lenses.
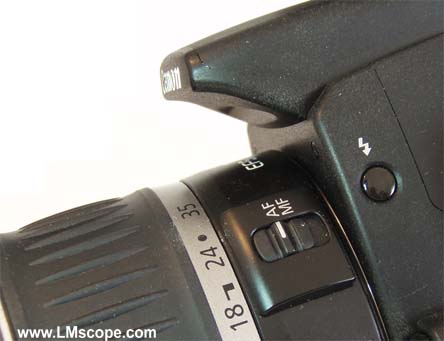
The close-up lens reduces the working distance to around 30 mm. At this distance, the object is depicted in sharp focus. At a greater or smaller distance, it is no longer possible to achieve an image that is focused sharply enough. Focusing itself is now no longer done via the lens (autofocus is disabled), but via the stand.
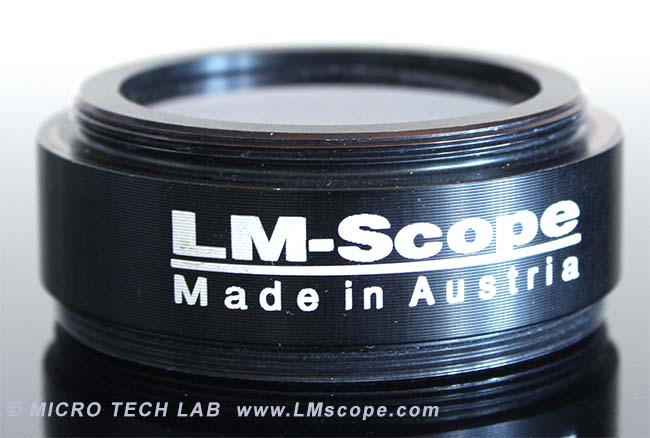
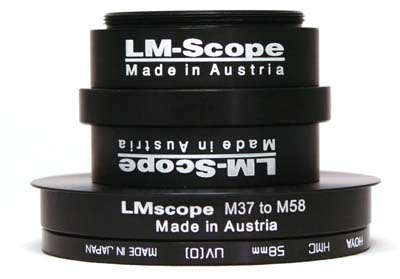
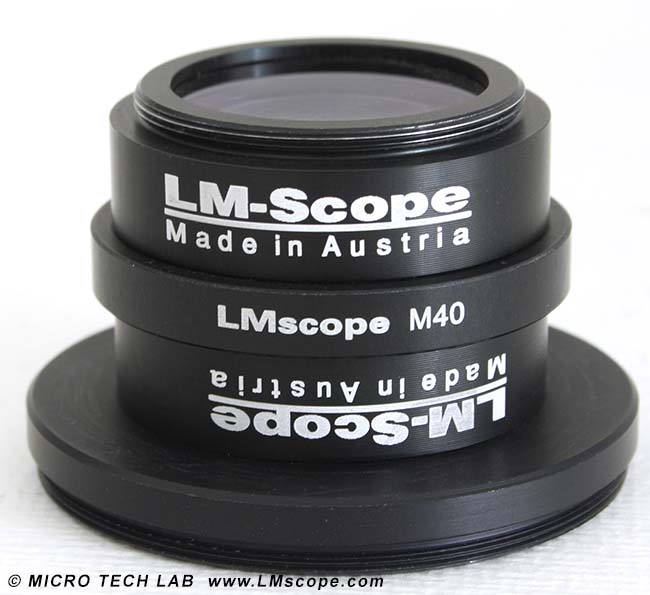
The close-up lenses (LM macro 40 and LM macro 80) have an M37 thread that is directed towards the camera (see image 1). For fitting to the lens, therefore, a step-down ring is required (see centre image). In our image, this is a step-down ring from 58 mm to 37 mm (STR5837). In the right-hand image, the LM macro 40 close-up lens can be seen attached to a camera lens with a step-down ring.

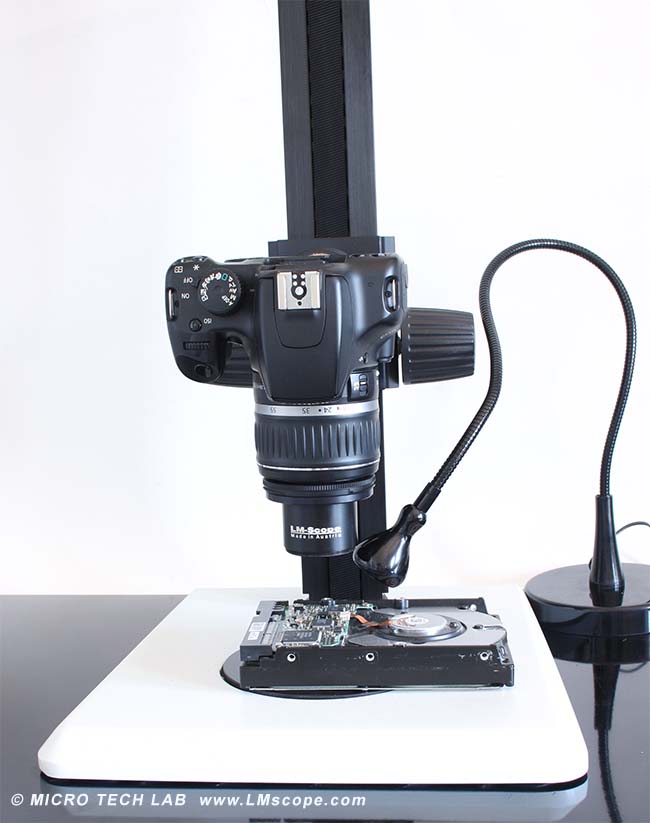
For high-quality photographic work we recommend the use of a sturdy stand with rack and pinion.
Depending on the close-up lens used, the working distance is reduced: in the case of the LM macro 40 lens to around 25 mm and with the LM macro 80 lens to around 60 mm. At this distance, the object is depicted in sharp focus. At a greater or smaller distance, it is no longer possible to achieve an image that is focused sharply enough. Focusing itself is now no longer done via the lens (autofocus is disabled), but via the stand.
For this reason, it is especially important to be able to focus accurately and precisely via the stand, as is the case with our LM macro stand.
The LM macro stand is available in different formats; for this workshop we used the LM macro stand 3 with an additional large base plate.
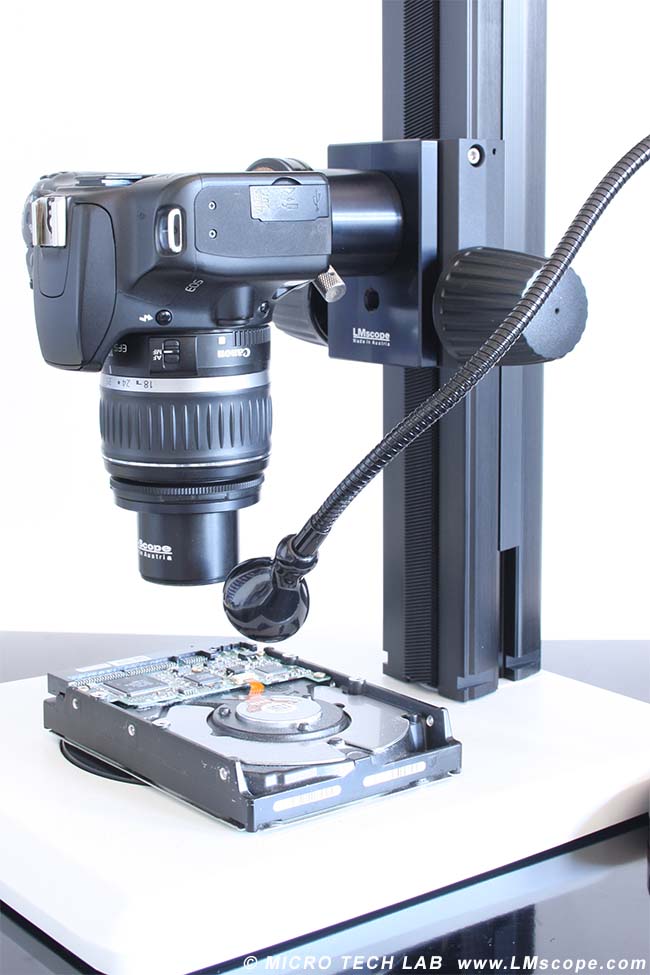
For illumination we used an IKEA LED lamp. These lamps feature an excellent price-performance ratio, and if needed, several lamps can also be used simultaneously. The magnification can be changed by means of the lens zoom.
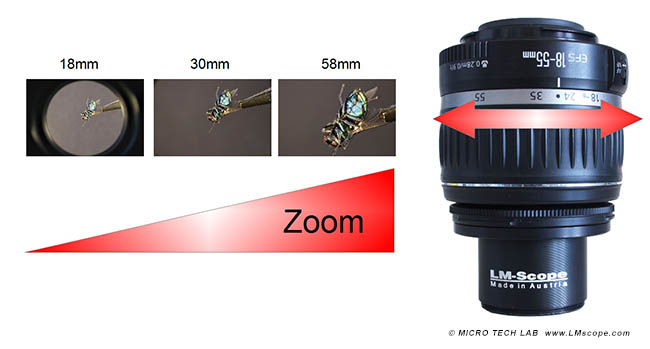
The magnification changes when the kit lens zoom is operated. In wide angle mode (minimum zoom) there is generally some peripheral darkening. If you zoom in more, the vignetting disappears, and the specimen is depicted in full frame.
Image field size at maximum zoom setting of 58 mm with the LM macro 40 mm close-up lens:
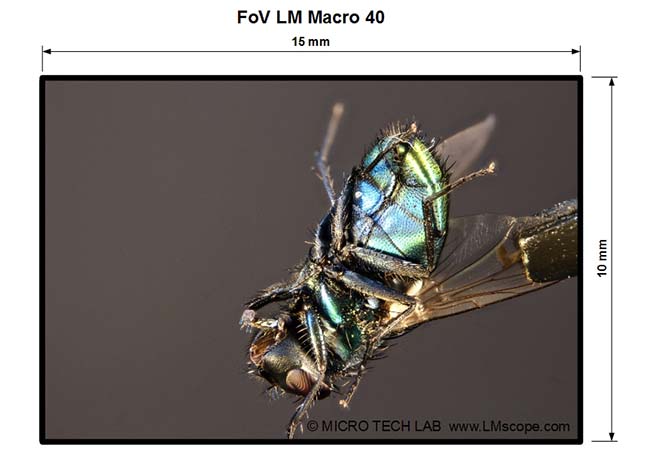
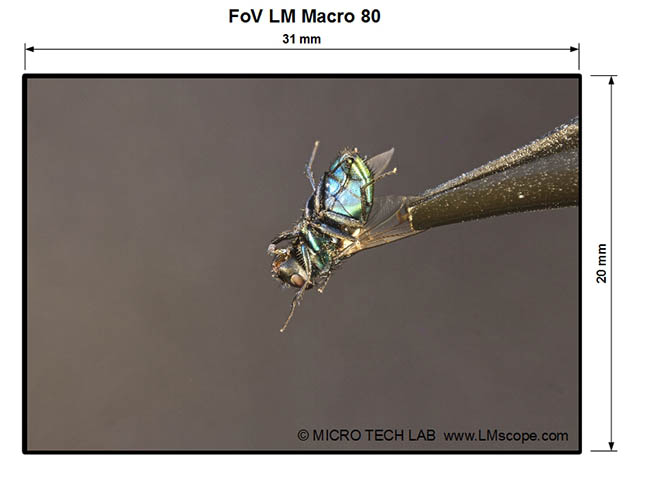
Image field size at maximum zoom setting of 58 mm with the LM macro 80 mm close-up lens:
Optionally we offer a special filter adapter (M40 -> M58) for attaching filters. This makes it possible to choose from a large selection of M58 standard size filters.

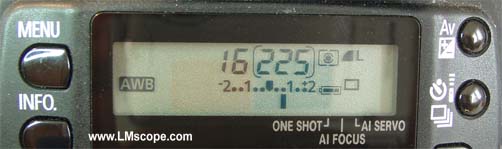
Select an aperture between 12 and 16 using the “automatic aperture control” setting. The camera then automatically selects the required shutter speed. A small aperture opening (higher aperture number) significantly increases the depth of field. A short shutter speed reduces blurring and motion artefacts when capturing moving objects (e.g. insects).
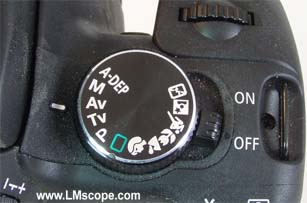
Working with a TTL flash makes it possible to use the optimal aperture with the shortest possible shutter speed
If a solution with even greater magnifications is required, our LM macroscopes are available for this purpose.
The LM macro 80mm close-up lens is also an interesting option for mobile use. Thanks to its small, lightweight design, it is an excellent choice for working outdoors. The use of a macro flash is ideal for optimum illumination and to avoid motion blurs.
New LM Digital Adapter for: Nikon Z9 / Nikon Z8 / Sony Alpha 7R V / Sony Alpha 1 / Sony FX3 Cinema Line / Sony Alpha 9 II (ILCE-9M2) / Sony Alpha 9 / Nikon D6 / Canon EOS R3 / Canon EOS R6 Mark II / Canon EOS R8 / Sony Alpha 7R IV / Canon EOS R5 / Sony Alpha 7S II / Sony Alpha 7S III / Sony Alpha 7R III / Canon EOS R6 / Nikon Z6 / Nikon Z6II / Sony Alpha 7R II / Nikon Z7 / Nikon Z7II / Canon EOS R / Canon EOS Ra (Astro) / Nikon Z5 / Sony Alpha 7C / Canon EOS RP / Sony Alpha 7S / Canon EOS R7 / Leica SL2-S / Canon EOS R10 / Canon EOS 1D X Mark III / Nikon Z50 / Nikon Z30 / Nikon Z fc / Nikon D850 / Canon EOS 1D X Mark II / Nikon D780 / Olympus OM-1 / Sony Alpha 7III / Olympus OM-D E-M1 Mark III /